About our online classes
Our online sessions are conducted via live video remote conferencing software, usually Go To Meeting, that students access from their computer browsers.
Other than the software used in class (such as MS Word, Adobe Acrobat Pro, and Adobe InDesign), nothing else is needed.
Whether you sign up for our regular classes or are planning to book custom team training, these tips will help you get the most out of the training.
Set up your workspace
- Update your software to the current releases.
PubCom's classes always use the latest versions because they have the latest tools and bug fixes for making accessible documents.
There's one exception at this time: we use Adobe InDesign 2022 for the presentations, but you're free to use 2021 or 2020. Note that there are few accessibility enhancements in 2020 and 2021.
Find the latest software versions for:
Acrobat currently at version 2022
InDesign currently at version 2022
MS Office currently at version 365 or 2021 - Use 2 screens.
You must be able to see both the instructor's screen and your own project at the same time. And the instructor's screen must be large enough for you to see the small text in menus and dialogue boxes. Choose any combo below (in order of our recommendation):- An additional monitor plugged into your desktop or laptop computer. Nothing fancy, but 20" or wider is an adequate size.
- Two computers side-by-side.
An older spare laptop can be used to hold the instructor's presentation screen. Use your best computer and screen for your projects. Note: although you'll use 2 computers, only the one you're using for the instructor's presentation needs to be connected to the internet, and the other one for your projects can be off line. - One ginormous ultra-wide monitor.
Screens that are 30" or wider can hold 2 "windows" so that you have both the presentation and your project on the same screen. - Conference room or training lab screen.
Use the projection screen in your office's conference room or computer training lab for the presentation. Use its conference speakerphone for the audio. And use your laptop for your project work. This is very convenient when 2 or more students from the same office are in the class. - Large tablet or "lite" computer.
A large-size tablet such as an iPad with an 11" or 13" display can hold the presentation (don't use it for your hands-on exercises in Word, InDesign or Acrobat). A 13" or larger Apple Air/MacBook Air, Chromebook, or MS Surface can do the job, too. These are not full-size (or fully-powered) computers for working in Word, InDesign or Acrobat, but they're sufficient for viewing the instructor's online presentation. - Your living room TV.
Seriously. It's like a humongous 65" monitor. You can set the TV to surf the web (independent of your regular computer) and browse to our class website to view the presentation on a really big screen.
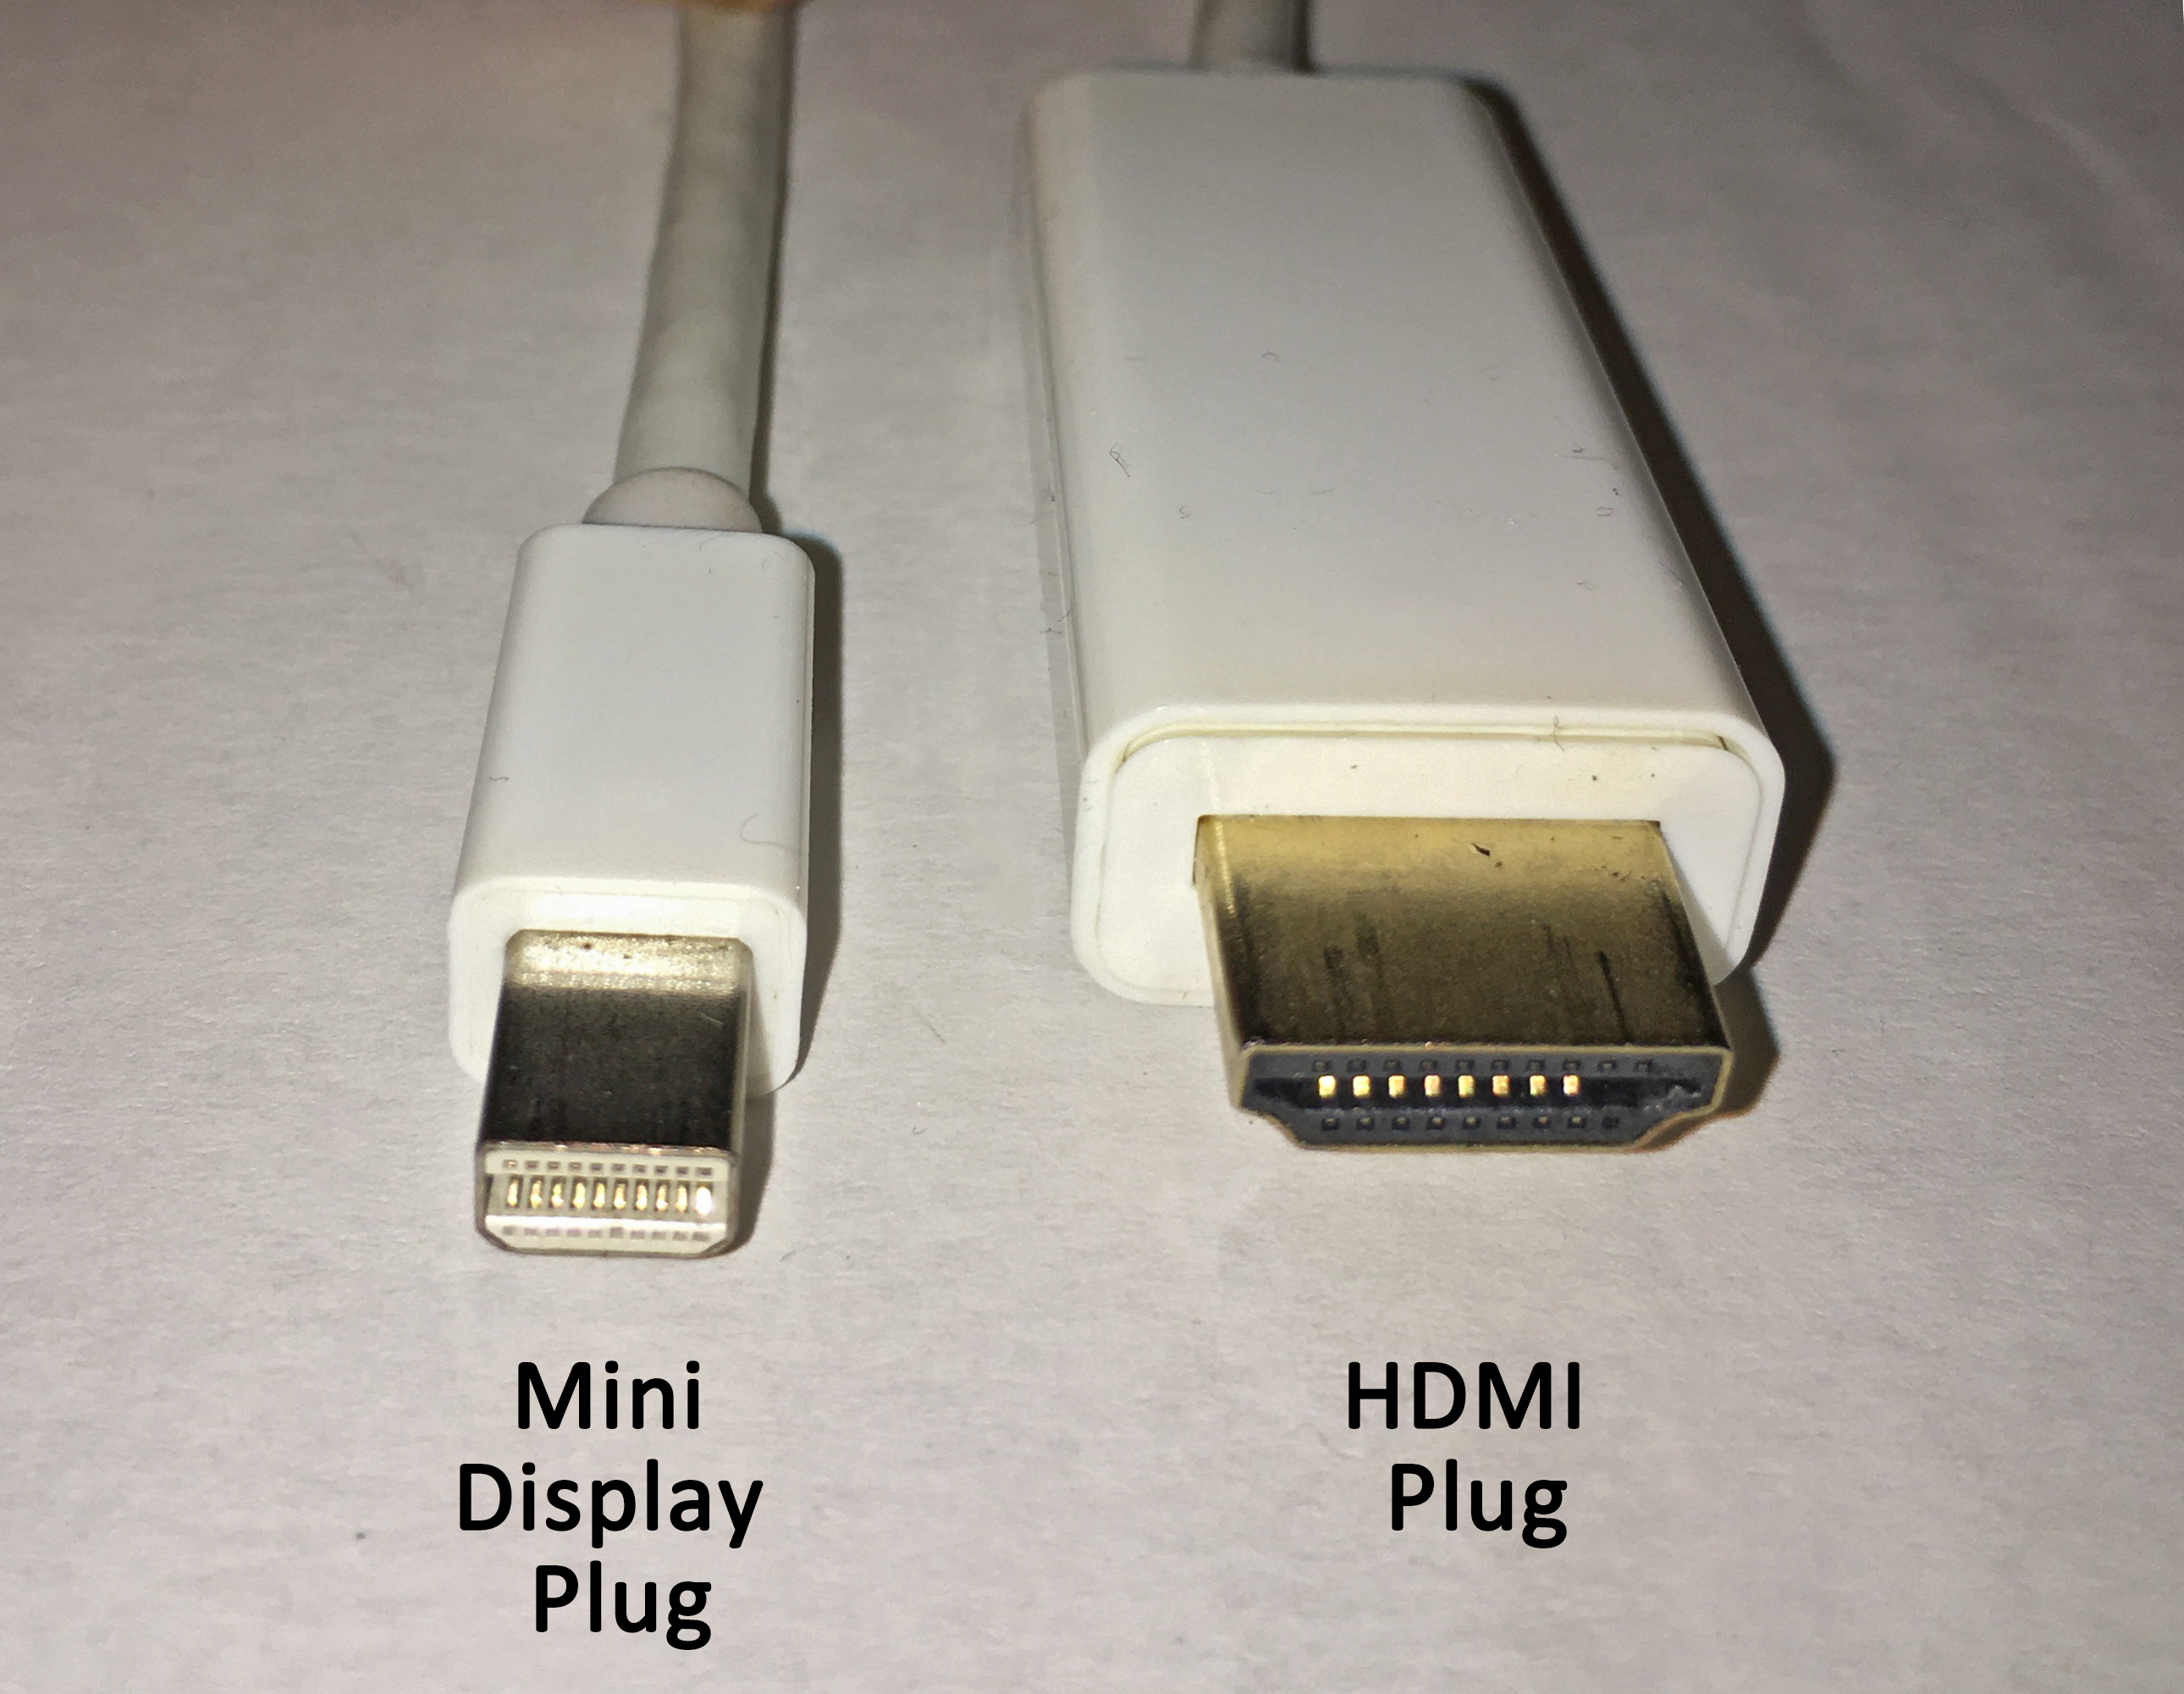
For the audio, use either the TV's speakers or dial in with your cell phone. Or, you can connect the TV directly to your computer with an HDMI or Mini-Display cable, and now your TV acts just like a second monitor on your computer. You might need an additional cable or adapter, depending on what ports your computer has.

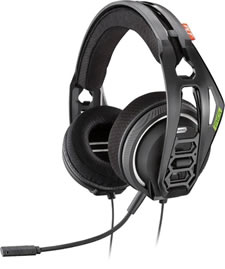
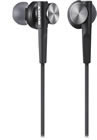
- Use headphones or earbuds with a built-in mic.
Don't use the speakers and mic on your computer because they cause feedback during the presentation. Instead, plug a pair of earbuds or a headset into the audio jack of your computer (or use bluetooth if you have it). This will give you clear back-and-forth dialogue with the class, and keep ambient noise from seeping into the classroom.
- Make sure they are comfortable to wear for 2-3 hours at a time.
- Learn how to adjust the volume.
- Learn how to mute the mic.
- Do not use speaker phones.
- Often, the headphones your kids use for gaming are perfect for online video conferencing.
Connect wired headphones or earbuds into the audio/headphone jack on your computer.

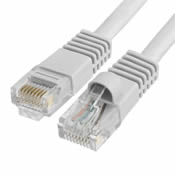
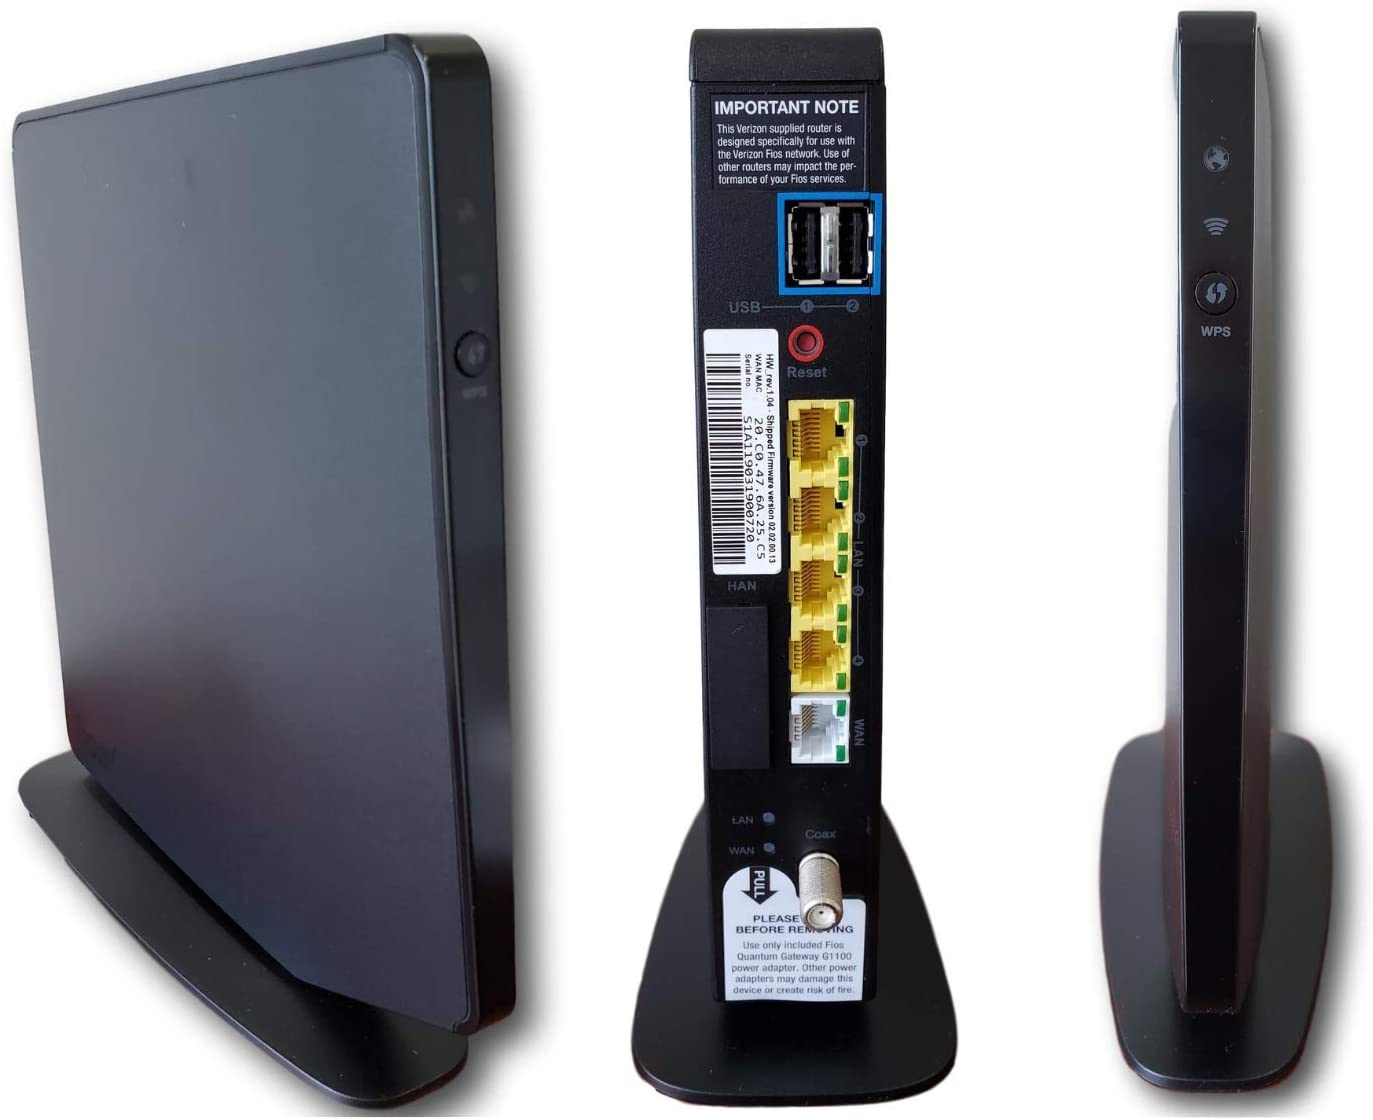
- Connect via a wired Ethernet/RJ45 LAN cable to your router, rather than use WiFi.
Wifi is 75% SLOWER than a wired connection. You need maximum bandwidth when viewing the instructor's presentation so that you don't experience clipping, hangs, buffering, blips, or hangs. The connection is also transmitting our audio and back-and-forth dialogue. An RJ45 Ethernet cable looks like a fat telephone cable and plugs into the back of the router provided by your broadband service (Verizon, Comcast, Cox, etc.). Plug into any of the 4 yellow ports shown in this Verizon router.
- Have drinks, snacks and lunch ready to go.
Our online sessions shave a little off the break times so you won't have time to order in or make lunch. - Turn off your cell phone.
We're on a roll during classes, so no texts, calls, or emails. Keep those activities for our breaks. - Video cameras are not needed.
But they are nice to turn on briefly to say hello when class starts or when we're on our breaks. Video adds a bit of camaraderie to the class. And no one can see your shorts or bunny slippers!
Look for your materials
A day or two before the first session, PubCom will ship the workbooks and handouts to you. Make sure you've supplied us with your delivery address.
We also have class files to download from our website, usually the day before the first session. You'll receive the URL address before class.
- Download the files to your desktop.
- UnZip (decompress) them and have them ready by the first class.
See you in class!